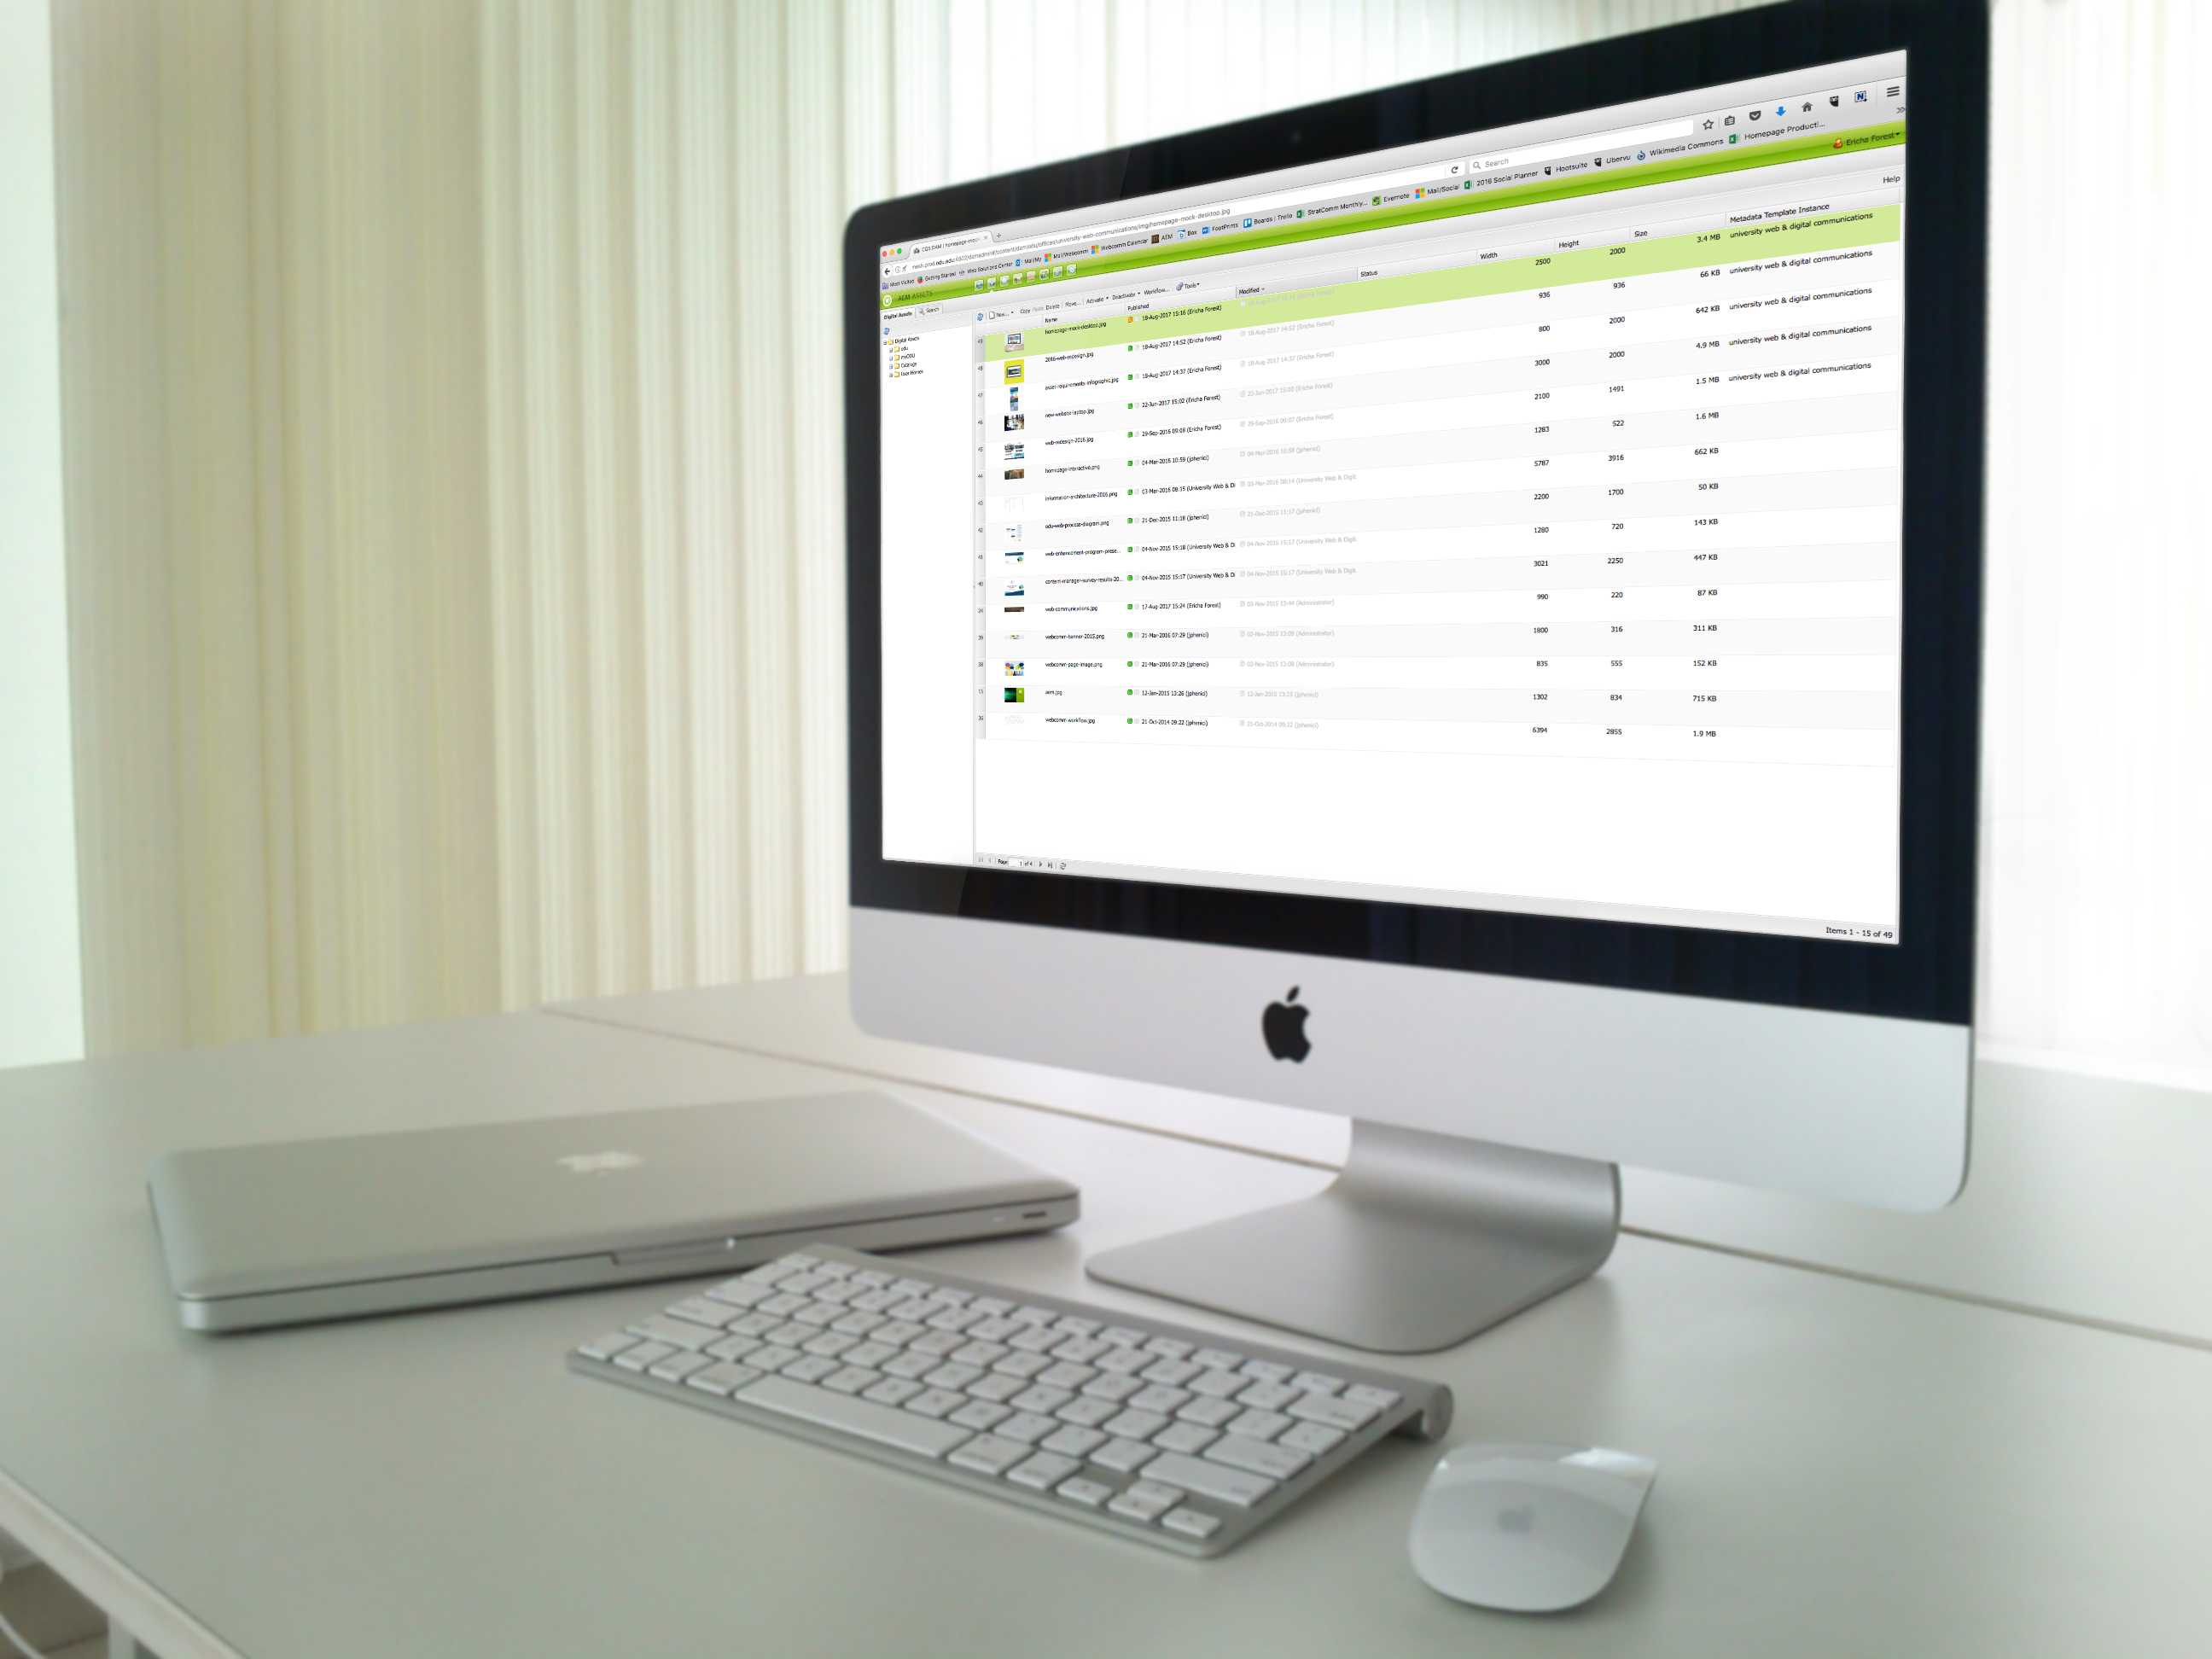
Accessing the DAM/DAM Interface
Enter the Digital Assets Module
From the login screen
- Log in to the CQ author (www.odu.edu/wcms)
- Click "Assets" on the left-hand menu
- Continue to hover over the "Assets" "button" - a monitor icon will appear
- Click on the monitor icon
Important Note: Do not access the DAM using the visual tiles to the right of the left-hand menu.
From the Websites Module
At the top of your screen, click on the second icon from the left (with the camera on it). This will switch you to the digital assets module.
Locate your Digital Assets Directory

Step 1
Click the + to the left of "odu" under "Digital Assets"

Step 2
Click the + to the left of either "University Offices" or "Colleges & Departments," depending on the location of your DAM directory

Step 3
Locate your unit in the child directory listing and click the + to the left of your unit's name
Step 4
Click on the folder name for either Images or Documents, depending on where you want to manage assets (upload, edit, replace or deactivate)
Viewing Your Directory/Understanding the Columns
Once you click on either your documents or images folder, you'll be presented with a list of the assets in the folder on the right side. Here is an overview of each column in the listing. You can sort on any column (ascending or descending, alternating) by click on the column heading.

Column 1 - Repository Order
This is the order in which the asset is stored in the actual CQ repository. Assets are entered into the repository in the order in which they are uploaded. There is limited capability to change this order.
Column 2 - Asset Thumbnail
The DAM will generate a thumbnail for many file types, which is viewable in the list view. This makes it easy to identify your assets at-a-glance. Some popular file types for which the DAM will not generate a thumbnail are Microsoft Word, Microsoft Excel and Microsoft PowerPoint.
Column 3 - Repository Filename
This is the actual filename of the asset in the system and also serves as the filename on the live website. More detailed information about filenames is available as part of the Digital Asset Standards.
Column 4 - Published Status
This shows the last activation/deactivation status and who performed the action. There are four potential statuses:
- Green - The asset has been successfully activated
- Orange - A request to activate or deactivate has been submitted but has not fully processed
- Red - The asset has been successfully deactivated
- Grey - The asset has never been activated
Column 5 - Modification Status
This shows whether the asset has been modified since its last activation action (activate or deactivate) and which user performed the most recent modification. There are two potential statuses:
- Grey - The asset has not been modified since its last activation action
- Blue - The asset has been modified since its last activation action and will need to be activated before the changes take effect on the live website
Column 6 - Asset Status
This column will be typically blank. Occassionally a small "blocks" icon may appear here. This indicates that the asset is processing through DAM workflows. You can click the refresh icon in the upper left corner of the toolbar to refresh the directory to see if the workflows have completed.
It is recommended that you allow all workflows to complete before working with an asset.
Column 7 - Width & Height
This will list the dimensions (in pixels) of image assets so you can determine their sizes at-a-glance.
Column 8 - File Size
This column shows the size of the asset in kilobytes or megabytes, depending on the file size.
The file size is particularly important for your document assets. While instances of your images are scaled to a page-appropriate size, your visitors will end up downloading your full document. This can be especially troublesome for visitors using mobile devices.
Opening an Asset to View or Edit
You open an asset the same way you open a page in the websites module. You can either double-click on the asset's line (preferably on the number from repository order column) or right-click on the asset and choose Open. Your asset will open in a new tab within the DAM module.
Activating/Deactivating an Asset
Much like pages in the websites module, you can activate or deactivate assets either by right-clicking on the asset in the list view and choosing the desired action or clicking the appropriate button in the toolbar.
You can also set an asset to activate or deactivate later using the drop arrow to the right of the respective function on the toolbar and then choosing "Activate Later..." or "Deactivate Later..." This will allow you to set the action date and time.
 Activate or Deactivate Immediately
 Activate or Deactivate Later
Deleting an Asset (Never Delete an Asset)
You should never delete an asset unless there is a reason that it should never be seen again (personnel issue, legal issue, etc.). If you do not want the asset to be publicly accessible anymore, you should simply deactivate the asset. For more information, please see the DAM guide for deactivating/deleting an asset.


